Time To Setup Your Aquarium Equipment
You finally have all the gear you need and want to put it together. The setup process is really the simple part when compared to buying what you need.
Let's Get Going...
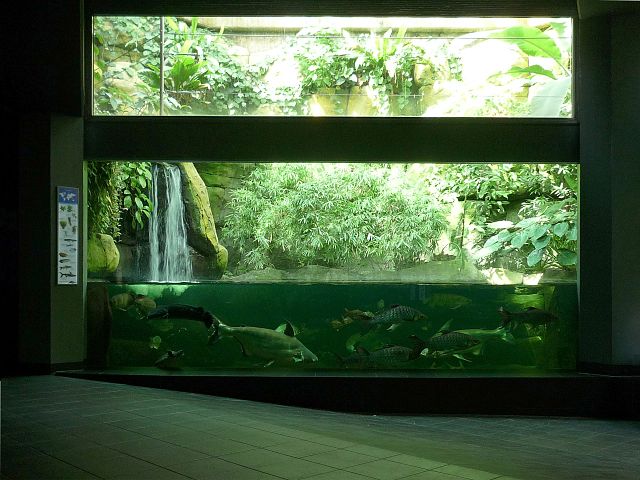
Ok, so your aquarium is not as huge as this one. Still, it is big to you. All the care and thought you have put into this project up to this point is starting to come together. Follow the steps below to get started with the setup process.
- Place your aquarium stand in its permanent location. Once setup is completed, your aquarium is not going anywhere. Use a two foot level to make sure the table top of the stand is level. Place shims under the legs if you have to. This is important for even weight distribution.
- Put your fish tank on the stand and center it. Use a clean wet cloth to wipe down the inside of the aquarium so that you can make sure nothing contaminates the water you are going to put in it. Do not use soap or any type of cleaning product.
- If you are using an under gravel filtration system, this is when you put it in your fish tank. Lay the plastic grid and attatch any powerheads and outflow tubing that you will be using. Be sure to rinse these items with water before placement, for the same reason that you wiped the inside of the tank down.
- Use a spagetti strainer to rinse your substrate. If you are using gravel, use cold water for this as some gravel substrate is sealed with a polymer apoxy. After the rinse, evenly spread the substrate across the bottom of your fish tank. You will probably have to rinse and repeat several times.
- Run water over any decorations that you are going to add and place them on your substrate.
- Add air stones and tubing next. A couple of notes here. Rinse them with water first(noticing a pattern here?). Be sure to cut enough tubing to allow you to anchor your air stone. You can anchor it using suction cups or gravel substrate. If you don't do this, your air stone will float to the surface when you fire up your air pump.
- Now it's time to put some water in the tank. Place a clean, rinsed plate or some other flat, wide object in the center of the tank on the substrate. Direct your water flow to the center of this object. This will keep your fill water from displacing a great deal of substrate. Some may be moved around during this process, but that is ok, you can even it out later. Fill the tank about 1/2 to 3/4 way full.
- Install your filter system according to instructions provided in the box. These instructions will vary based on the type of filter system and brand of manufacturer.
- Place your aquarium heaters but do not plug them in yet. You should wait 15 to 20 minutes. This allows the thermostat time to adjust to the current water temperature of your fill water.
- Finish filling your tank with water. Most tanks have a black striping around the top of the tank that hold the hood and light. Fill to about 1/2 inch under this lip.
- Put your hood and aquarium lights on the fish tank.
- Add water conditioner per instructions on the bottle. This is the chemical that removes chlorine and other bad things from your tap water.
- Turn on the filter system and aquarium heater. Use a thermometer to make sure your heater thermostat is set correctly and functioning.
If you are using the Cycling with Fish method of aquarium cycling, let the aquarium sit for 24 hours before adding fish. This allows the water pressure to equalize and the water conditioner time to do its work. This also allows the aquarium heater time to bring the water temperature up to the desired level. Be sure you are running your filtration system and air pump so that any problems with these systems will be noticed before you proceed.
If you are not going to use fish to cycle your tank, proceed to Fishless Cycling to complete your aquarium setup process.
For more detailed information on some of the steps of this process, see the Wikipedia Aquarium Setup page.


